
by Morgan Ashley
These gooey white chocolate chip cookies started as one base recipe and became two completely different cookies depending on one decision: what you press into the center and how long you let the dough rest.
There’s a version of baking that’s all precision: leveled cups, a scale, a timer set to the second. And then there’s the version I actually love, which is one batch of dough, two directions, and the willingness to see what happens.
That’s what this was.
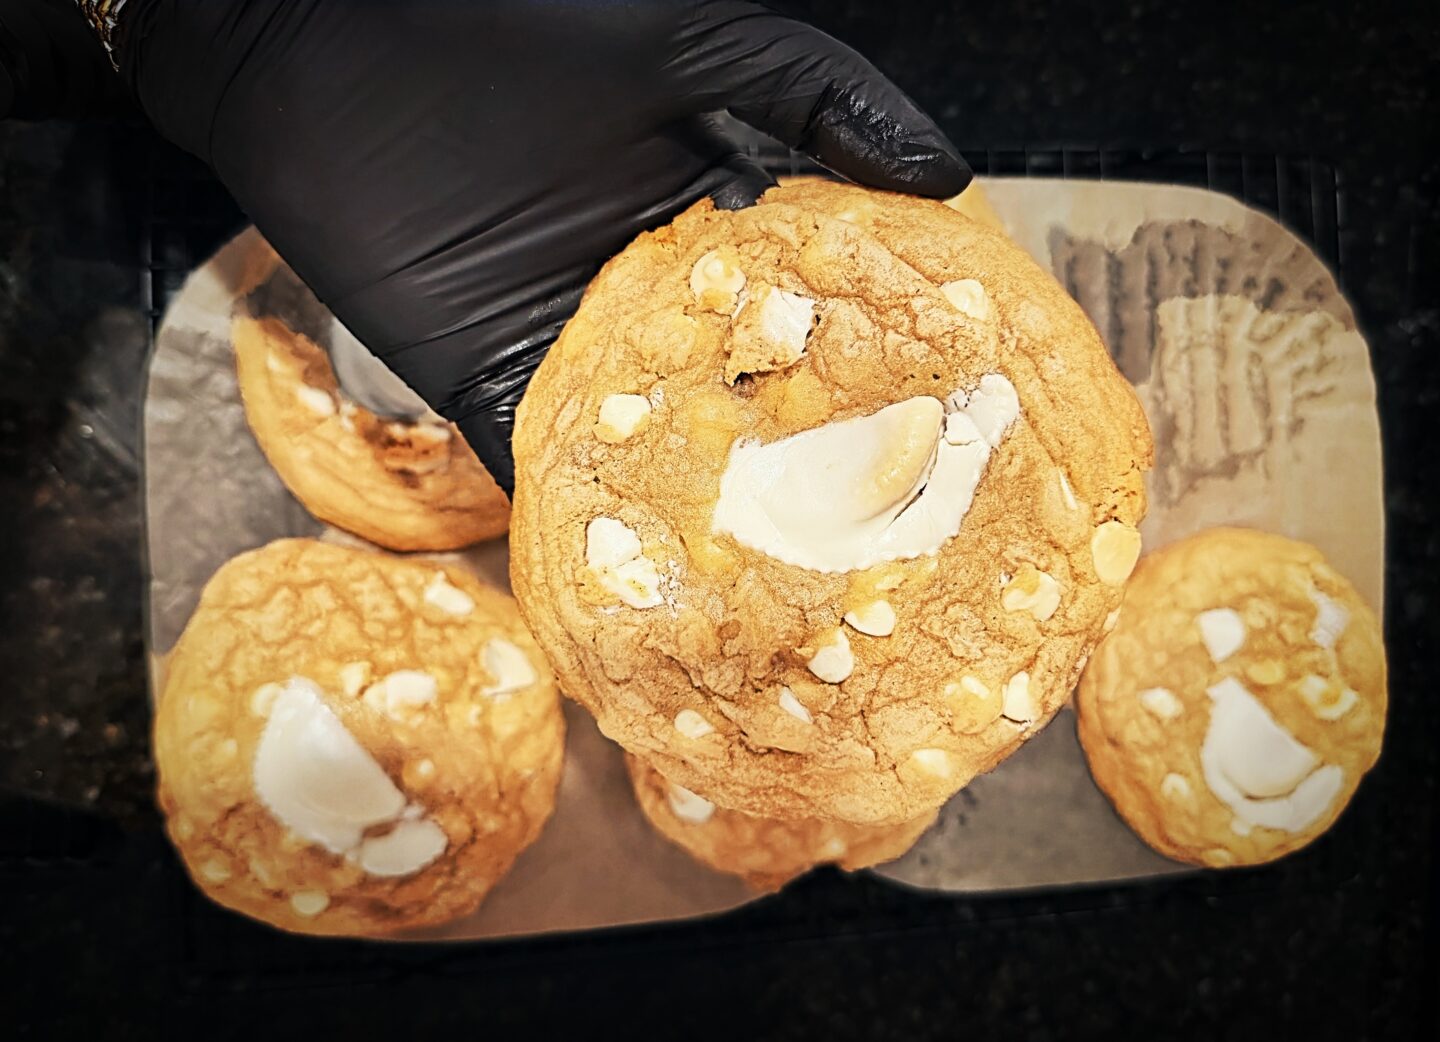
Gooey White Chocolate Chip Cookies: One Dough, Two Ways
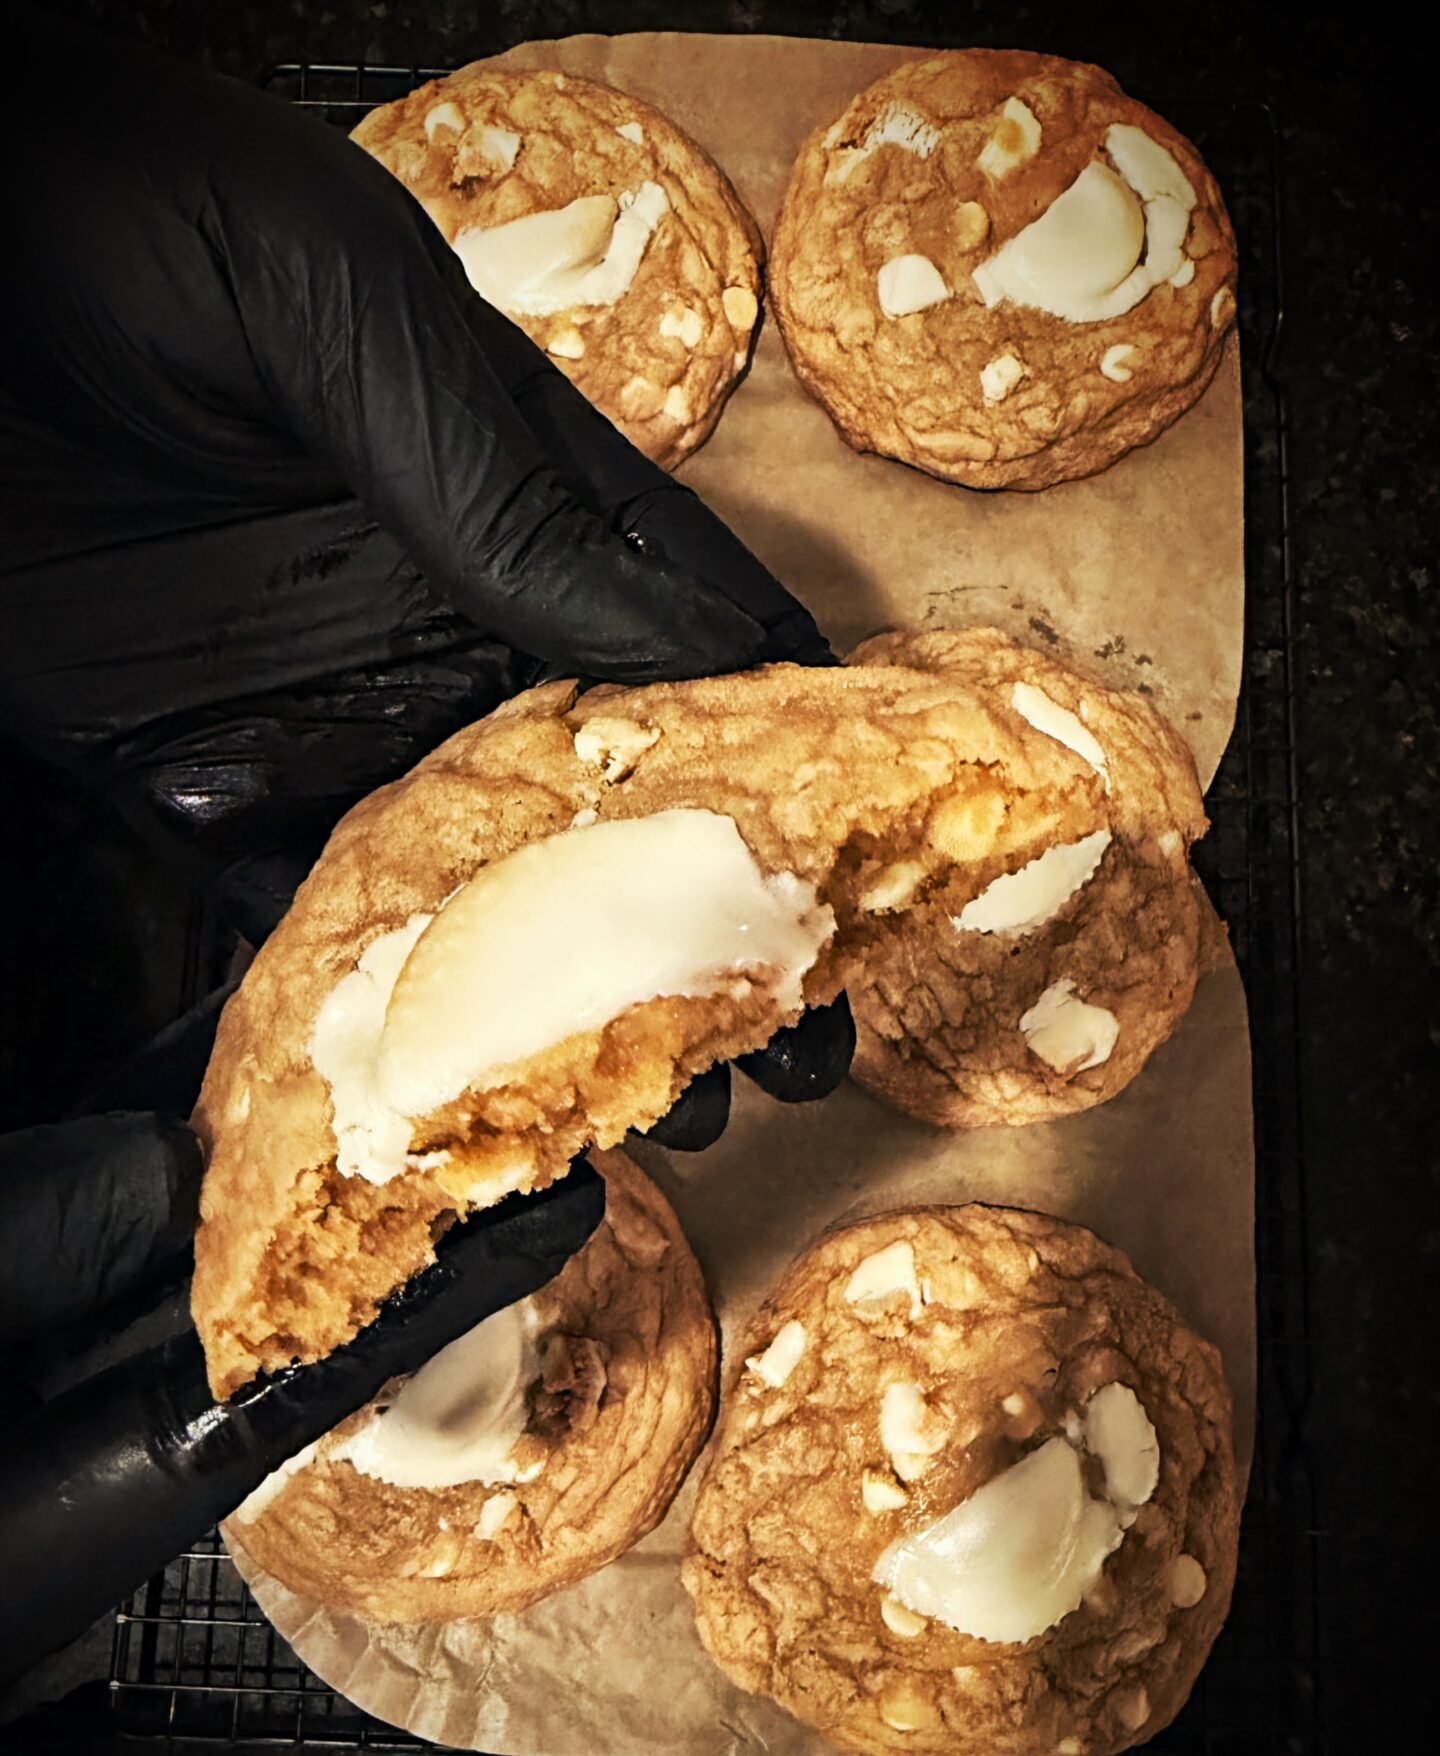
I made the base recipe exactly as written: six large cookies, tall dough balls, chilled just enough to hold their shape. But instead of stopping there, I split the intention in half. For the big ones, I pressed white chocolate Reese’s into the tops before baking, layered in both white chocolate chunks and chips for texture, so every bite had a different kind of melt. Chips hold their shape a little longer, chunks blow out into those glossy pools, together they give you both.
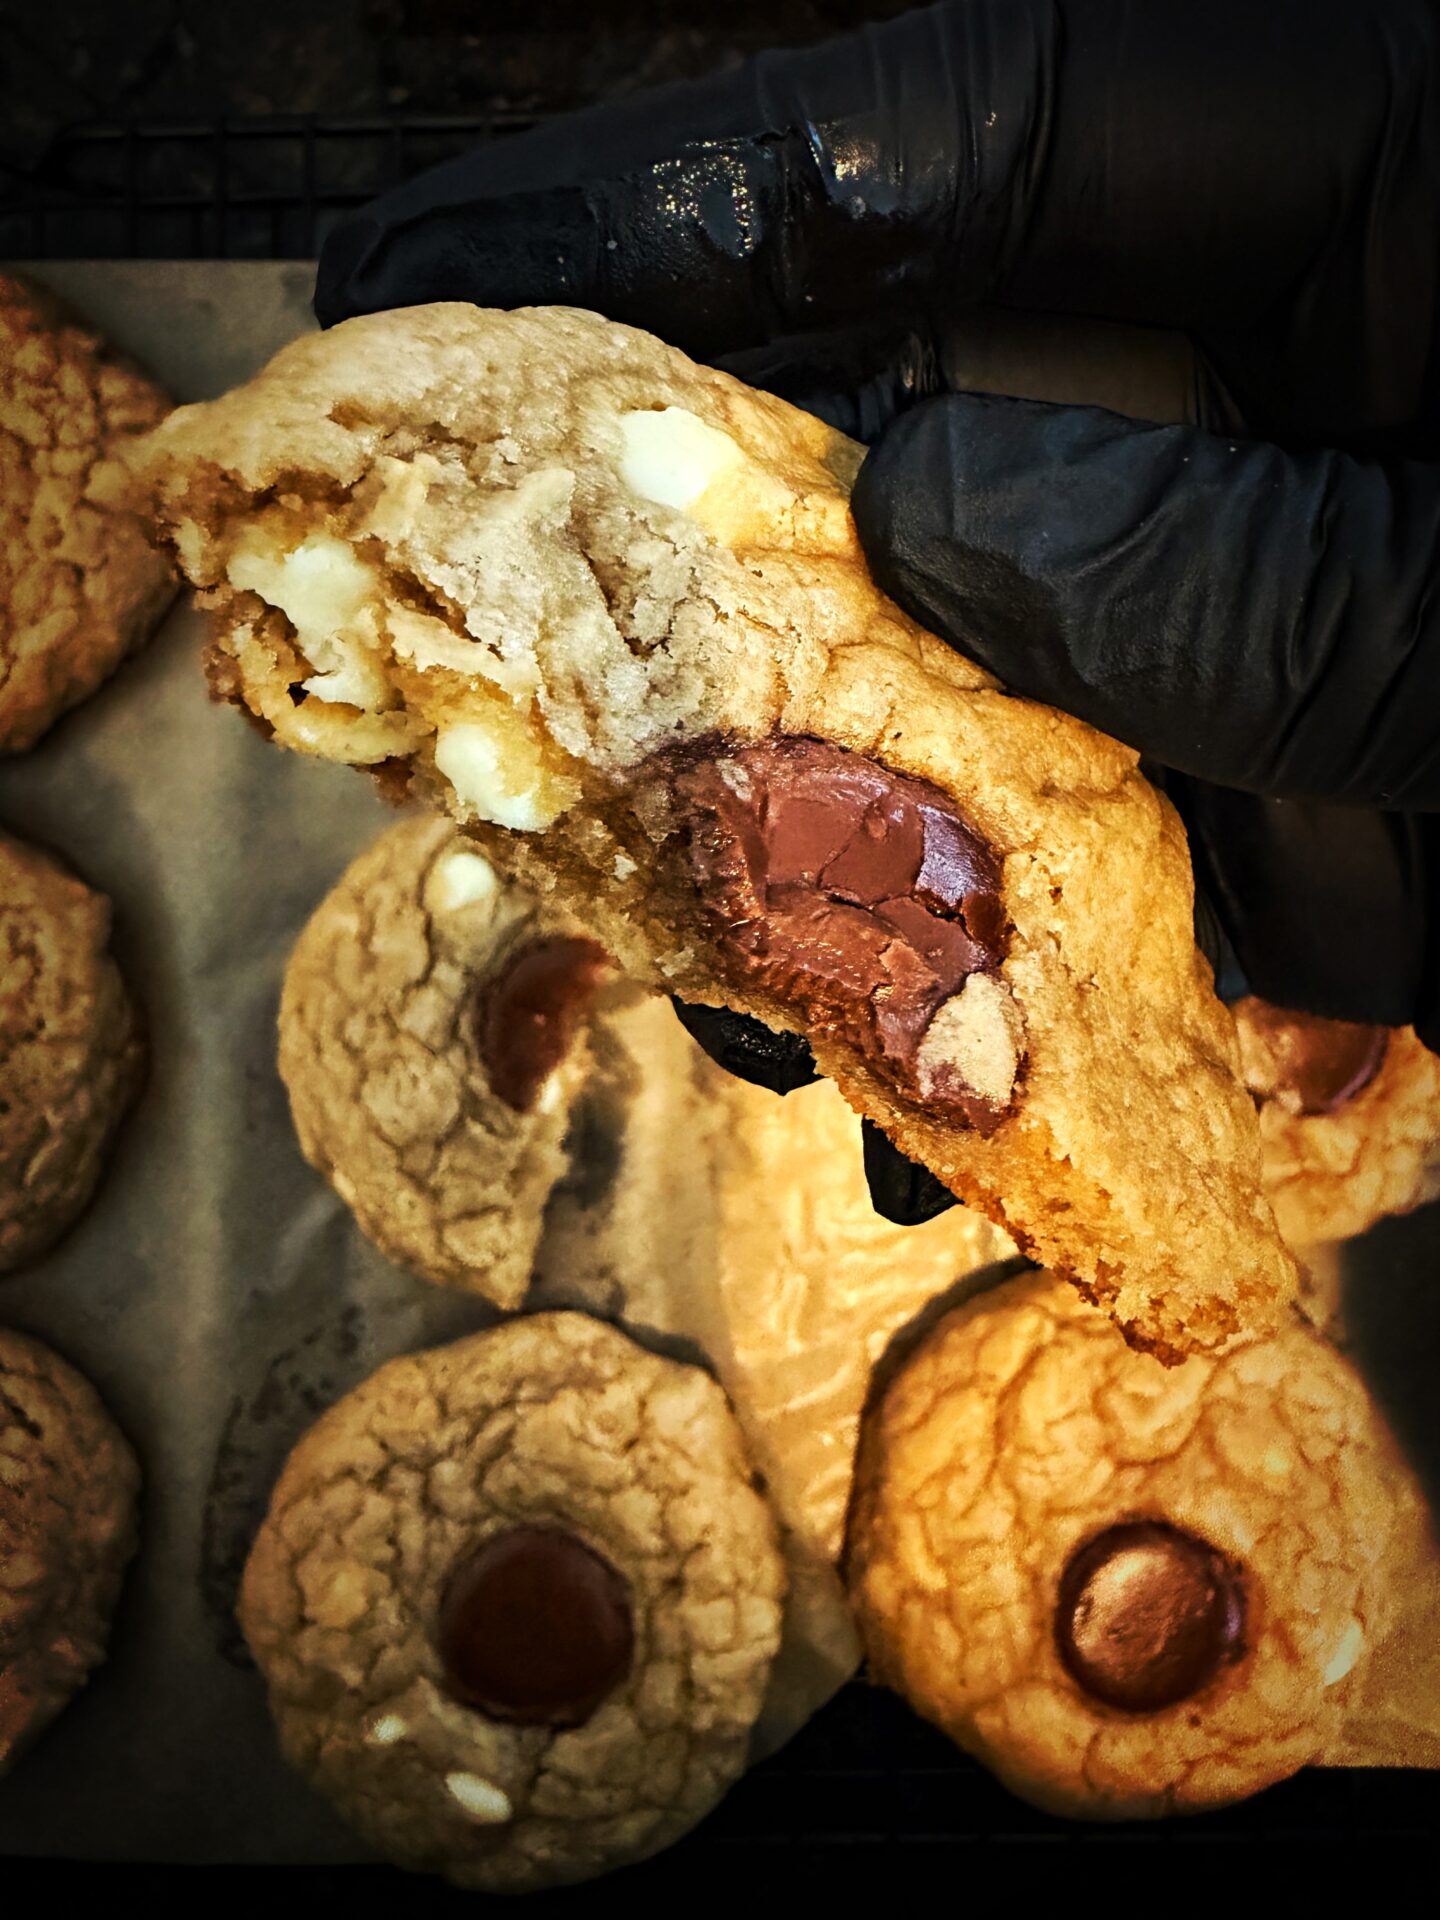
The remaining dough became something else entirely. Same recipe, smaller portions, twelve cookies instead of six, but this time, a milk chocolate wafer pressed into the center instead of white chocolate. Same base, same method, and somehow two completely different cookies came out of it.
What the Center Tells You
Cut into either one and the difference is obvious before you even taste it. The white chocolate centers stay pale and almost custardy against the golden dough. The milk chocolate ones turn glossy and dark, cracking slightly at the edges like a fudge pool. Neither is more “correct.” They’re just different moods.
This is the kind of thing I want L’HEIR to be about. Not a rulebook. A framework you trust enough to bend.
The Actual Lesson
If you’re working with a base cookie dough you already love, don’t feel locked into one topping decision for the whole batch. Split it. Let half the batch be one thing and the other half be something completely different. You’ll learn more about your dough (how it holds up, how it melts, what texture you actually prefer) from one batch split two ways than from five identical batches in a row.
Next time, I want to try a third split with dark chocolate and flaky salt, just to see what that mood looks like too.
The Recipe
Base Dough
- 1 cup unsalted butter, melted and slightly cooled
- 1¼ cups packed brown sugar
- ½ cup granulated sugar
- 2 large eggs
- 1 egg yolk
- 2 tsp vanilla extract
- 2¾ cups all-purpose flour
- 1 tbsp cornstarch
- 1 tsp baking soda
- 1 tsp fine sea salt
- 2 cups white chocolate (a mix of chunks and chips)
- Flaky sea salt, for topping
Method
- Whisk the melted butter, brown sugar, and granulated sugar together until smooth and glossy.
- Whisk in the eggs, egg yolk, and vanilla until thick and slightly lightened in color.
- In a separate bowl, whisk the flour, cornstarch, baking soda, and salt.
- Fold the dry ingredients into the wet just until no dry streaks remain. Don’t overmix.
- Fold in the white chocolate chunks and chips.
From here, the dough splits into two directions:
Version 1: The Sweet, Bakery-Style Big Cookie
- Portion into 6 large dough balls, tall rather than flat.
- Press a white chocolate Reese’s into the top of each before baking.
- Chill 4.5 hours.
- Bake at 350°F for 13–17 minutes, until the edges are golden and the centers still look soft.
- Cool on the pan for 10 minutes before moving.
This shorter chill kept the dough a little looser, which is part of why this version leaned sweeter and more dramatic: more spread, more gooey pull in the center.
Version 2: The Signature Semi-Sweet Bakery Cookie
- Portion the remaining dough into 12 smaller cookies.
- Press a milk chocolate wafer into the top of each before baking.
- Chill 1.5 days.
- Bake at 350°F for 12–15 minutes, until edges are set and centers are just barely soft.
- Cool on the pan for 10 minutes before moving.
The longer chill time made all the difference here: deeper flavor, tighter crumb, less spread, and a more balanced semi-sweet finish. This is the version that felt the most like a true signature bakery cookie — restrained, not too sweet, built to be repeated exactly.
Takeaway: if you’re chasing a big, dramatic, sweet cookie, chill closer to 4–5 hours. If you’re building a cookie you want to become a signature, give the dough a full day or more to rest.
Morgan Ashley is the founder of L’HEIR, an editorial lifestyle brand for women who buy less and choose better.
